 0
0


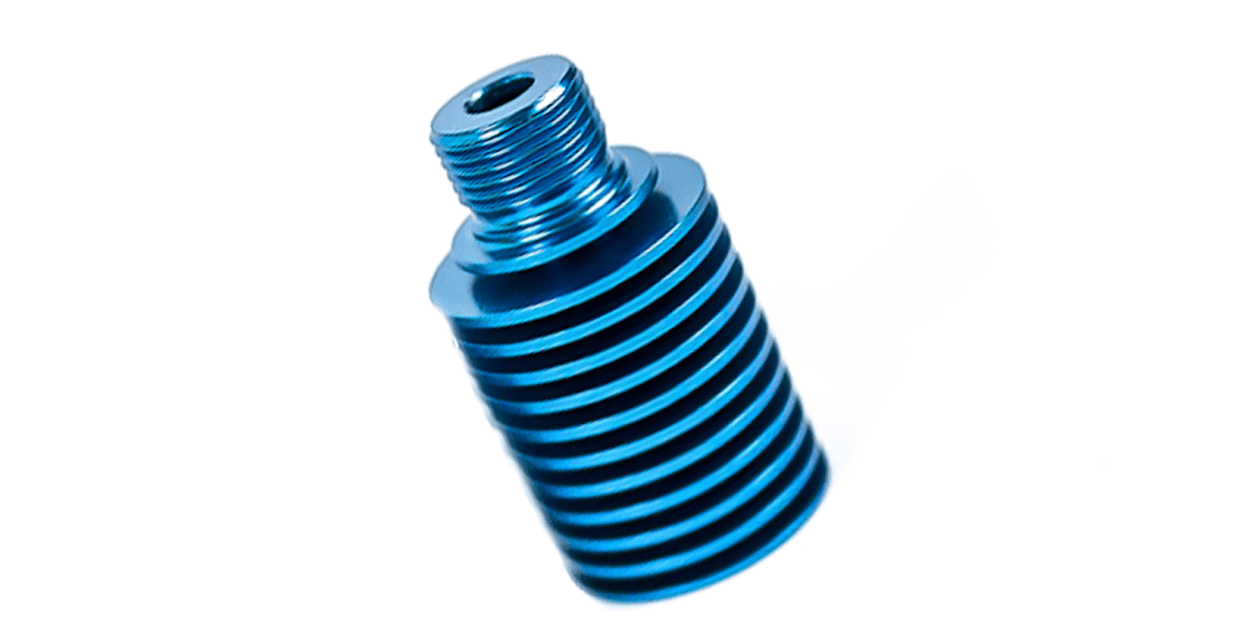
Banner Image Courtesy of MatterHackers
A well-functioning heat sink is critical to stable extrusion and preventing heat creep in your 3D printer’s hotend. When the heat sink underperforms, whether due to loose mounting, clogged fins, or degraded thermal interface—you may experience temperature fluctuations, filament jams, and poor print quality.
Signs Your Heat Sink Needs Attention
1. Temperature Fluctuations
Sudden jumps or drops in nozzle temperature during a print are a red flag. Your printer’s PID graph may show wild oscillations instead of a stable curve.
2. Heat Creep and Jams
If filament softens prematurely inside the heat break—often seen as bubbling or stringy oozing above the melt zone—you’re likely dealing with inadequate sink performance.
3. Filament Grinding or Nozzle Clogs
A slipping filament drive wheel, grinding marks, and frequent jams can all stem from heat traveling upward from the heater block because the heat sink isn’t pulling it away fast enough.
4. Noisy or Overworked Cooling Fan
Hearing your hotend fan run at full speed constantly? That’s a sign it’s compensating for poor sink contact or a malfunctioning fan bearing.
5. Visual Wear or Damage
Bent fins, accumulated debris, or loose mounting screws visible on inspection indicate your heat sink is overdue for attention.
Preparing to Work on Your Printer
1. Power Down & Unplug
Always switch off your printer at the mains and disconnect the power cable to eliminate shock risk.
2. Cool-Down Period
Wait until the hotend temperature reads room temperature (below 50 °C). Touching a still-hot heat sink may cause burns or further damage.
3. Safety Gear
Wear heat-resistant gloves when handling recently hot components and safety glasses to protect against debris or spring-loaded parts.
4. Work Area Setup
Lay out a clean, static-free surface. Organize small trays or magnetic mats to keep screws, washers, and springs from rolling away.
Tools & Materials You’ll Need
Hex Keys & Wrenches: Typically 1.5 mm, 2 mm, or 2.5 mm Allen keys, plus a small adjustable wrench.
Thermal Paste or High-Temp Thermal Paste: For designs that use thermal compound between the heat break and sink.
Replacement Parts (if required):
- New heat sink (compatible with your hotend model)
- Spare fan (if your existing fan is noisy or underperforms)
- New heat break or nozzle (if wear is observed)
Cleaning Supplies:
- Nylon or brass wire brush for removing debris from fins
- Isopropyl alcohol (≥90 %) and lint-free wipes to degrease surfaces
- Compressed air canister for dust removal
Optional: Precision calipers to verify correct gap dimensions.
Disassembling the Hotend
1. Remove Filament and Bowden Tube
Extrude a bit of filament to clear the nozzle, retract fully, and cut the remaining filament. Detach the Bowden tube from the coupling.
2. Detach Cooling Fan & Duct
Unscrew the fan shroud or duct that directs airflow onto the sink. Note wire routing and connector placement.
3. Loosen Heat Sink Mounting Screws
Using the correct Allen key, back out the screws securing the heat sink to the heat break. Retain springs or washers in your parts tray.
4. Extract the Heat Sink Assembly
Gently pull the heat sink straight off the heat break. If it’s stuck, wiggle slightly—avoid prying with metal tools to prevent scratching.
5. Separate Heat Break (if replacing)
If your design uses a separate heat break, unthread it from the heater block with the wrench while holding the block stationary.
Inspecting and Cleaning Components
1. Examine Heat Sink Fins
Look for bent or crumpled fins and signs of filament dust or grease build-up inside the grooves.
2. Check Heat Break & Nozzle
Inspect the heat break for carbonized filament deposits. Look for nozzle wear—blunted orifice edges can mimic heat sink issues by clogging.
3. Clean Surfaces
- Fins: Brush out debris with a nylon or brass brush.
- Mounting Face: Wipe both heat sink and heat break mating surfaces with isopropyl alcohol.
- Fan Blades: Blow out dust with compressed air and wipe blades with alcohol.
4. Verify Straightness
Spin the heat sink between fingers; if it wobbles, check for bent fins or off-center machining.
Installing or Replacing the Heat Sink
1. Apply Thermal Paste (if applicable)
Spread a thin, even layer of high-temp thermal compound around the mating surface of the heat break. Avoid excess—this can squeeze into the filament path.
2. Seat the Heat Sink
Slide the sink onto the heat break until it rests flush against any collars or shoulders designed to stop it.
3. Tighten Mounting Screws
Replace springs or washers, then tighten screws in a crisscross pattern to ensure even pressure. Torque should be firm but not over-tight; overdoing it can warp the heat break.
4. Replace Heat Break or Nozzle (if needed)
If you removed the heat break, thread in the new or cleaned one, then secure the nozzle per manufacturer specs (usually hand-tight plus a quarter-turn with the wrench).
Reassembling the Hotend and Fan Assembly
1. Reattach Cooling Fan & Duct
Align the fan so it blows directly onto the fins. Ensure the fan cable isn’t pinched and reaches the controller board connector comfortably.
2. Reconnect Bowden Tube or Filament Path
Fully seat the Bowden tube in the coupling or reinsert the filament as needed.
3. Cable Management
Use zip ties or cable clips to route wires clear of moving parts and pinch points.
4. Final Visual Check
Verify no foreign objects remain, screws are snug, and the assembly looks identical to its original configuration.
Testing & Calibration
Power On & Idle Test
Switch on the printer. Listen for unusual fan noise or vibration.
PID Tune
Run a PID autotune routine to recalibrate temperature control. Save the new PID values to EEPROM.
Temperature Stability Check
Monitor the nozzle at your typical printing temperature. Watch for a flat PID curve and minimal overshoot on the temperature graph.
Test Print
Print a small calibration cube or benchy. Inspect the top layers and bridging areas for signs of heat creep or uneven extrusion.
Troubleshooting and Maintenance Tips
|
Issue |
Quick Fix |
Preventive Tip |
|
Heat Creep Persists |
• Increase cooling-fan speed • Swap in a higher-CFM fan |
• Check fan performance monthly • Keep fins dust-free |
|
Thermal Paste Wearing |
• Clean old paste • Reapply a thin, even layer |
• Reapply every 6–12 months |
|
Nozzle Clogs & Grinding |
• Inspect heat-break for debris • Replace worn nozzle |
• Run cold pulls weekly |
|
Fan Noise or Vibration |
• Lubricate or replace fan bearings • Reseat fan mounts |
• Secure fan screws after each hotend service |
|
PID Instability |
• Re-run PID autotune (e.g. M303 E0 S200 C8 + M500) |
• Tune whenever you change hotend parts |
|
Dust or Debris on Fins |
• Brush fins with nylon/brass brush • Blow out with air |
• Wipe fins with isopropyl alcohol before prints |
|
Thermal Runaway Safety |
• Verify firmware protection is enabled |
• Test emergency shutdown yearly |
|
High-Temp Printing |
• Upgrade to all-metal hotend • Use high-grade alloys |
• Inspect heat break and sink after each 250hrs of use |


