 0
0


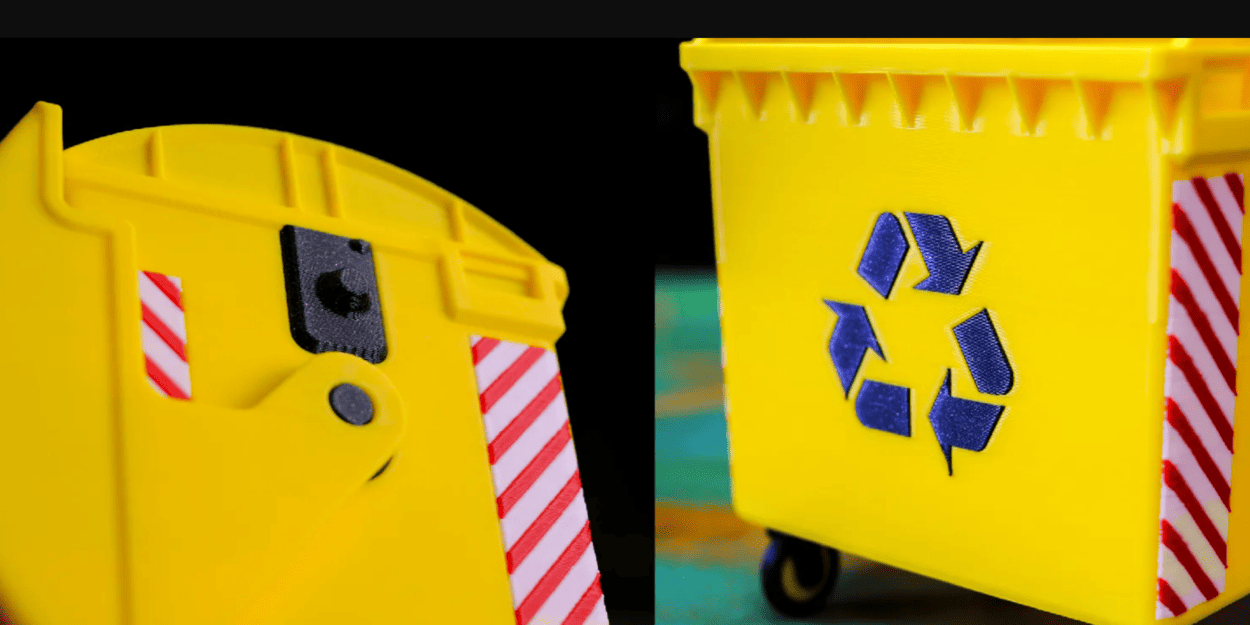
Banner Image Courtesy of Prusa Research
What is Multi-Color 3D Printing
Multi-color 3D printing is the process of producing a single printed object that contains two or more colors or materials without manual painting after printing. It ranges from simple layer-by-layer filament swaps to advanced systems that blend filaments in the hotend or feed many spools into one nozzle. The goal can be purely aesthetic (vibrant models), functional (color-coded parts), or to simulate finished products for prototyping.
Methods and Technologies
• Filament swapping (manual or slicer‑triggered): The printer pauses at specified layers so you can change spools; it’s the simplest route for two‑color prints and works on most machines with pause‑at‑height support.
• Multi‑extruder systems: Printers with two or more extruders can print distinct colors simultaneously; IDEX (independent dual extruders) designs reduce nozzle collision and allow mirrored/duplicate printing, while fixed dual‑nozzle setups are simpler but need careful alignment.
• Color‑mixing hotends: These blend two or more filaments inside the hotend to create gradients and intermediate hues; they excel at smooth transitions but require tuning to avoid color contamination.
• External splicers and filament managers: These splice multiple filaments into a single feed for a single‑nozzle printer, enabling many colors without multiple hotends; they add complexity but increase color count.
Materials, Filaments, and Color Considerations
Filament choice matters. PLA is easiest for color work due to low warping; PETG and ABS behave differently with heat and adhesion, affecting color transitions and layer bonding.
Color matching across spools is imperfect, dye lots vary, so test swatches before committing to large prints. Special filaments (transparent, metallic, color‑changing) can produce striking effects but may require different temperatures and slower speeds to avoid artifacts.
Practical Workflow and Settings
• Design for color: Separate color regions in your model (multi‑part assemblies or color islands) or use slicer features to assign extruders to model sections.
• Slicer setup: Configure extruder assignments, layer change heights, and purge strategies (towers, lines, or ooze shields). Purge towers consume filament but reduce cross‑contamination; purge lines are space‑efficient for small prints.
• Calibration: Align nozzle offsets (X/Y/Z) for multi‑nozzle systems; tune retraction and temperature to minimize oozing. For mixing hotends, calibrate purge lengths and mixing ratios to get consistent hues. Start with conservative speeds and larger purge volumes when trying a new method.
Common Issues and Quick Fix
• Color bleeding/contamination: Increase purge length or use a larger purge tower; reduce nozzle temperature and tune retraction to limit oozing.
• Layer misalignment between colors: Recalibrate X/Y offsets and check mechanical play in the carriage; tighten belts and verify stepper drivers.
• Under‑extrusion after swaps: Ensure filament path is clear, check for partial clogs, and increase extrusion multiplier slightly if needed.
• Excess waste from purging: Use purge lines or optimize slicer purge settings; consider switching to a Palette/MMU solution if you need many colors but want to reduce manual swaps.
Start with a simple two‑color test print, document the exact settings that worked, and iterate. Multi‑color printing is as much about workflow and calibration as it is about hardware.


