 0
0


Banner Image Courtesy of Formlabs
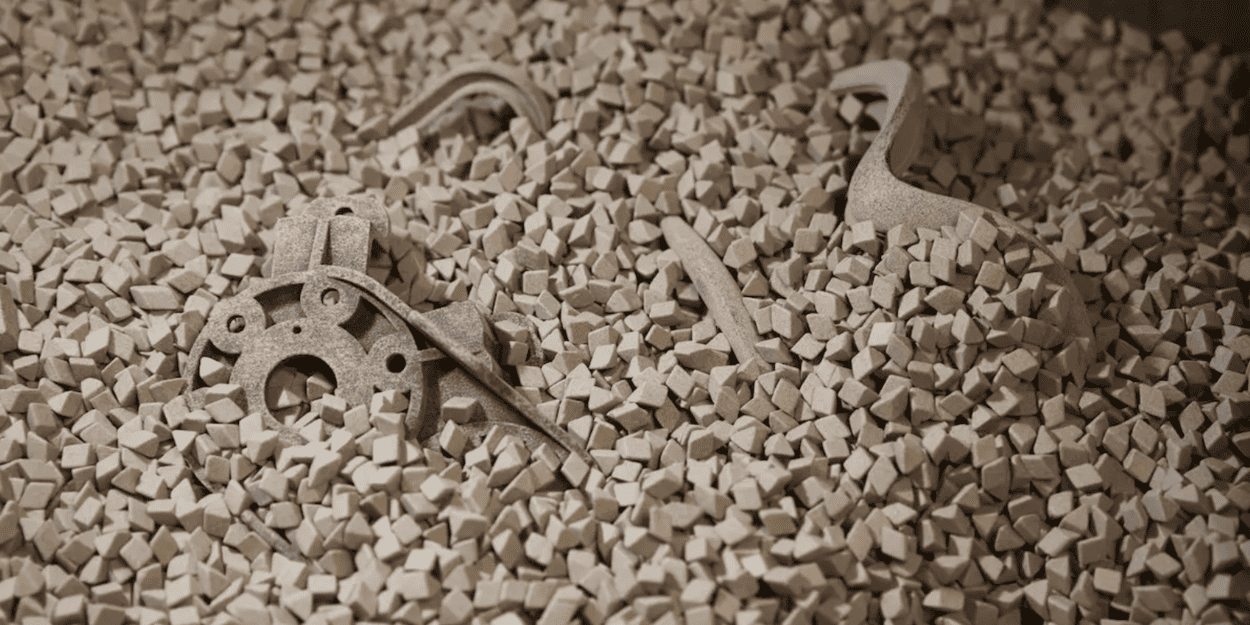
As Printed Surface Finish of Nylon
Nylon 3D printing yields varying surface textures depending on the process:
FDM/FFF Nylon
Visible layer lines (0.1–0.3 mm)
Slight stringing and stair-stepping on curves
Matte or slightly glossy filament sheen
SLS Nylon
Grainy, powder-fusion look
Uniform but slightly rough “orange peel” texture
No visible layer lines, but slight porosity
MJF / Binder Jetting Nylon
Fine, sand-like finish
Generally more uniform than SLS
Minimal post-print cleanup
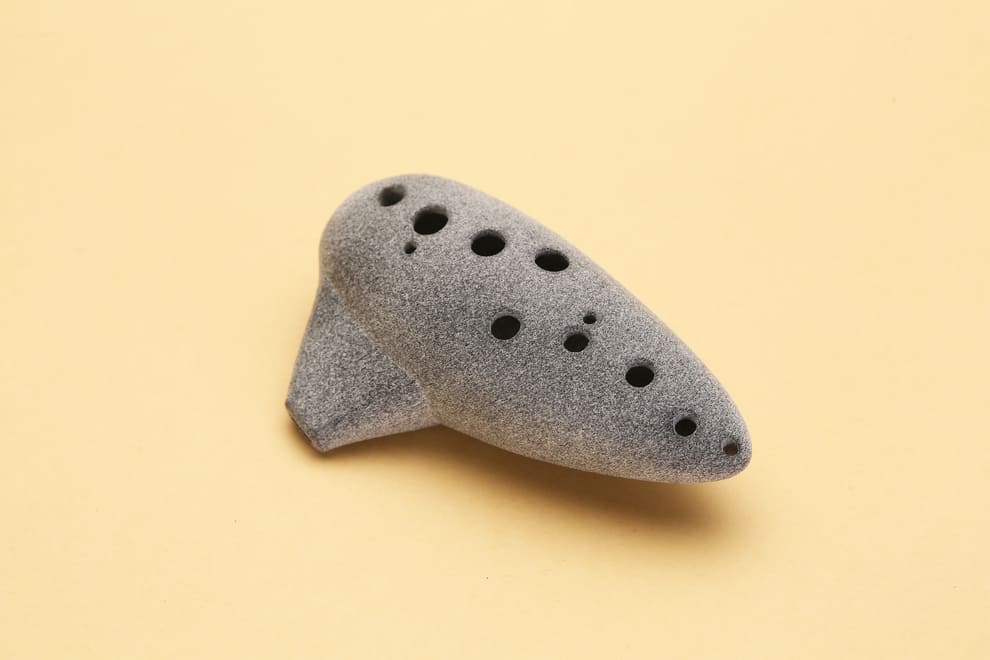
Image Courtesy of Hi3DP
How to Prepare 3D Printed Nylon for Further Finishing
Cooling (SLS/MJF Printed Nylon)
After printing, allow SLS or MJF parts to cool gradually inside the build chamber (or in a covered, shaded area) for at least 30–60 minutes. This slow cooldown minimizes thermal shock, reduces warping risk, and helps preserve dimensional accuracy.
Cleaning Off Powder/Oil
Remove Loose Powder: Use a low‑pressure air blower or soft nylon brush to gently clear unfused powder from surfaces, crevices, and channels.
Degrease: Wipe each part down with a lint‑free cloth dampened in isopropyl alcohol to lift away any process oils or fine dust. Ensure full evaporation before proceeding.
Removing Support Structures & Excess Filament
Support Removal: Clip away rafts, supports, and brim material with flush cutters or fine snips, working slowly to avoid gouging the surface.
Fine Trimming & Deburring: Use a sharp hobby knife to trim leftover nubs and carefully deburr edges. For very tight corners, a set of needle files will help you reach and smooth small crevices.
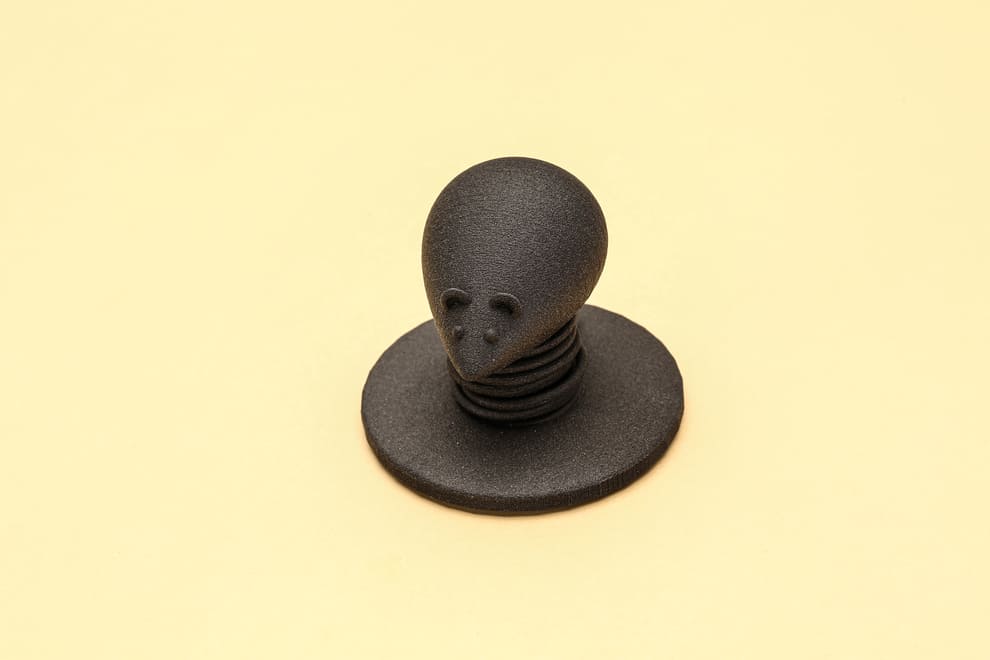
Image Courtesy of Hi3DP
Mechanical Finishing Techniques
Sanding & Abrasives
Grit Progression: Start at 180–220 grit, move up to 600–800 for smoothness.
Wet vs. Dry: Wet sanding reduces heat and nylon melting.
Tips: Wrap sandpaper around a flat block for large surfaces; use sanding sticks for tight corners.
Vibratory & Tumble Finishing
Media Selection: Ceramic for heavy deburring; plastic for light polishing.
Cycle Time: Ranges from 2–8 hours depending on roughness.
Benefits: Batch processing large volumes of small parts.
Bead Blasting
Bead Type: Glass beads (smooth finish) or aluminum oxide (aggressive matte).
Pressure Settings: 30–60 psi to avoid gouging.
Result: Uniform matte texture, ready for paint or primer.
Mechanical methods excel at removing layer lines and achieving consistent matte or semi-gloss finishes.
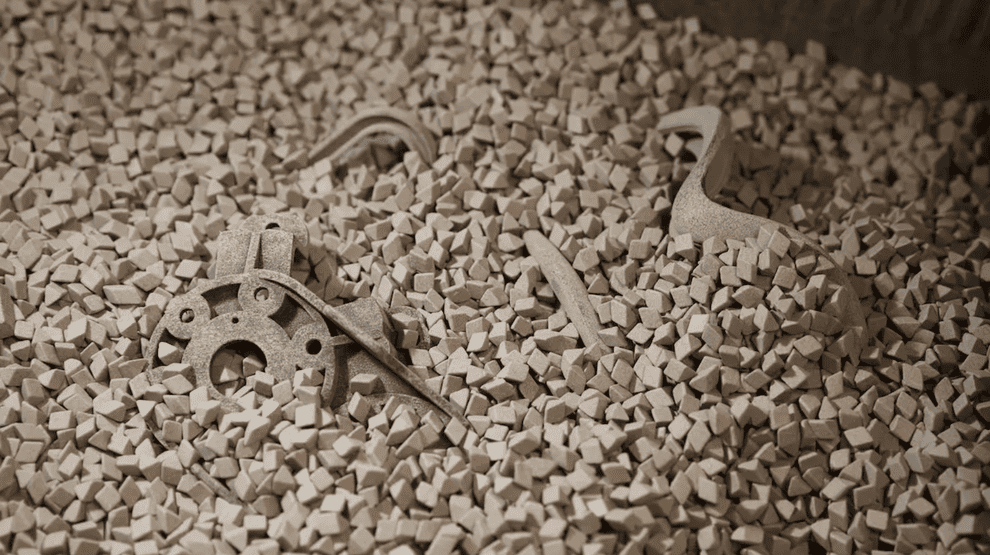
Image Courtesy of Formlabs
Chemical & Thermal Treatments
When mechanical methods alone won’t give you the silky smooth look you want, chemical and thermal treatments can dramatically improve your 3D printed nylon surface finish.
Vapor Smoothing
Vapor smoothing uses a controlled solvent vapor—commonly formic acid for nylon 6—to gently melt and reflow the outermost layer of your print, which fills in tiny layer lines and gives a semi‑gloss, almost injection‑molded appearance.
Pros & Cons:
Pros: Near‑perfect gloss finish, minimal sanding required afterward.
Cons: Requires careful handling of chemicals and complete PPE (respirator, gloves, eye protection).
Heat Gun Polishing
Heat gun polishing softens the nylon’s surface with focused hot air, melting small peaks and valleys back into a smoother finish without chemicals.
Pros & Cons:
Pros: No chemicals required; quick and accessible for hobbyists.
Cons: Higher risk of local warping or surface bubbling if you linger too long; less uniform than vapor smoothing.
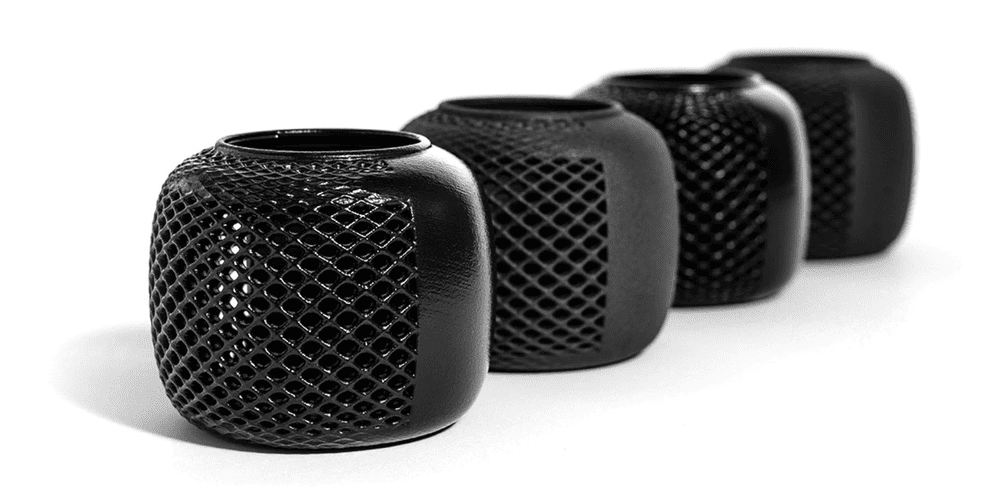
Image Courtesy of Protolabs
Coatings, Primers & Paints
Coating
A coating is a thin protective layer—often clear or lightly pigmented—applied after priming to seal the surface, add chemical or abrasion resistance, and sometimes impart special properties (e.g., UV protection, anti‑slip, gloss).
Common Types:
Urethane Clear Coat: Highly durable, resists chemicals and moisture.
Polyurethane Resin: Creates a hard, almost “glass‑like” finish.
Functional Coatings:
Anti‑Slip Coating: Textured film for grips and handles.
Antimicrobial Coating: Contains silver or copper ions to inhibit bacterial growth.
Priming
Primer is a preparatory layer that fills tiny imperfections, improves paint adhesion, and creates a uniform base color, critical when working with nylon’s low‑energy surface.
Popular Primers for Nylon:
Epoxy-Based Primer: Excellent adhesion, fills layer lines well.
High-Build Primer: Thicker formula that levels deeper grooves and minor defects.
Polyester Primer: Fast-drying, sands to a very smooth finish.
Spray Painting
Spray painting adds color and finish style—matte, satin, semi‑gloss, or high‑gloss. It’s the final aesthetic step in your surface finishing workflow.
Choosing the Right Paint:
Acrylic Enamel: User-friendly, quick‑drying, vibrant colors.
Urethane Paint: Extremely durable, chemical‑resistant—ideal for functional parts.
Specialty Sprays:
Metallic or Pearl Finishes for eye‑catching effects.
Textured Sprays for grip or weathered looks.
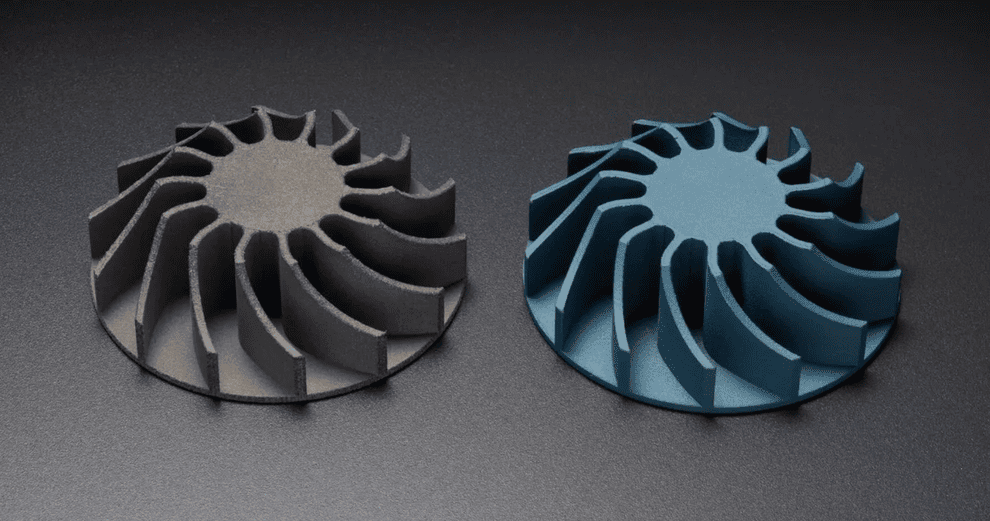
Image Courtesy of Formlabs
Choosing the Right Finish for Your Application
|
Application |
Recommended Finish |
Pros |
Cons |
|
Decorative Models |
Sand → High-build primer → Paint |
Smooth, vivid colors |
Time-consuming prep |
|
Functional Prototypes |
Bead blast → Urethane coat |
Durable, dimensionally stable |
Equipment cost |
|
Wearables & Grips |
Solvent smoothing + Textured coating |
Comfortable, anti-slip |
Safety concerns with solvents |
|
Electrical Parts |
Mechanical polish + Conductive paint |
Adds EMI shielding |
Limited conductivity |
FAQs
Q: Is nylon chemically smoothable like ABS?
A: Only with specialized solvents (e.g., formic acid vapor), not with simple acetone.
Q: Does bead blasting affect dimensional accuracy?
A: Minimal, but high-pressure blasting can remove up to 0.1 mm of material.
Q: Can I tumble finish large nylon parts?
A: Vibratory finishes work best for small to medium parts; large parts may need manual sanding.


