 1
1


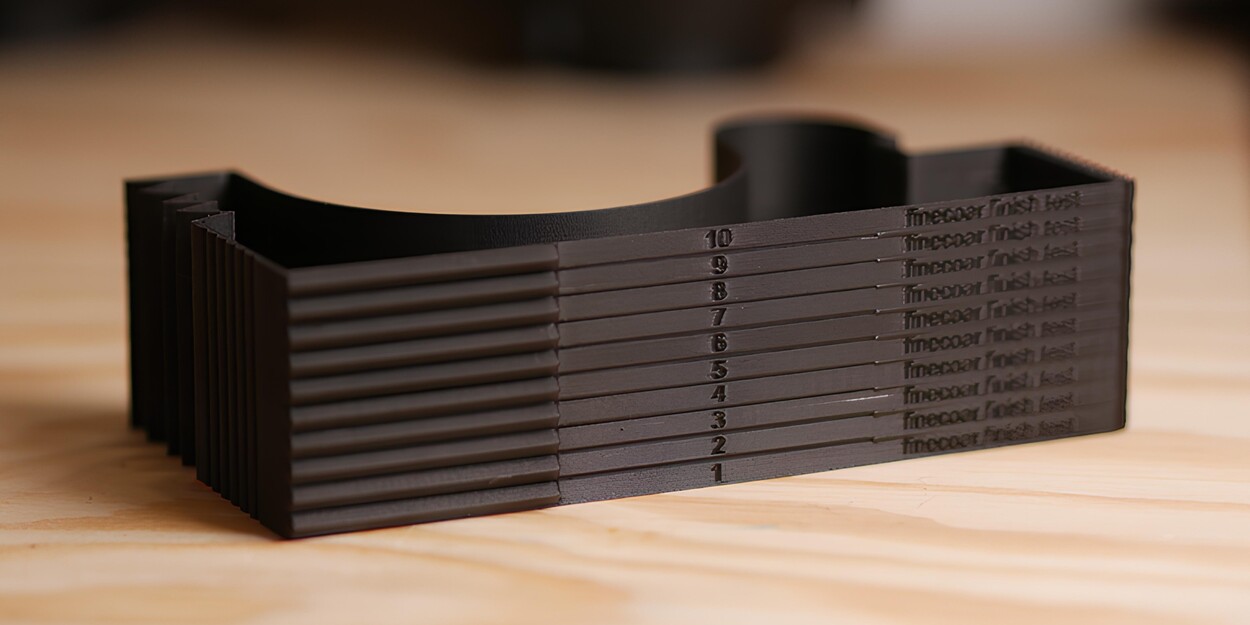
Banner Image Courtesy of ordnerino from MakerWorld
How Surface Finish Is Created
FDM parts are built layer by layer, so visible layer lines and small ridges on the surface finish are the baseline. Several factors determine how pronounced those lines are and whether other defects appear:
1. Layer height & nozzle diameter: Smaller layers reduce visible steps but increase print time. A 0.1 mm layer height looks smoother than 0.3 mm for the same nozzle.
2. Extrusion width & flow consistency: Over- or under-extrusion creates blobs, gaps, or rough surfaces. Calibrate the extrusion multiplier and ensure the filament diameter is accurate.
3. Print orientation: Surfaces printed parallel to layer planes (vertical walls) often look better than steep overhangs or curved surfaces printed in Z.
4. Cooling and temperature: Excessive cooling can lead to poor layer adhesion and roughness; too-hot printing causes stringing and blobs.
5. Mechanical accuracy: Loose belts, worn nozzles, and bad bed leveling show up as ringing, banding, or inconsistent texture.
Design to Improve Surface Finish
Designing with finish in mind reduces post-processing time and yields better results.
1. Orient for appearance: Put critical faces parallel to XY (where layers are fine) or minimize visible Z-seams by aligning them where they’re hidden.
2. Use fillets and chamfers: Sharp corners emphasize layer lines. Fillets have smooth transitions and print cleaner surfaces.
3. Wall thickness & shells: Use multiple perimeters for a solid shell — this reduces visible infill pattern show-through and makes sanding easier.
4. Avoid tiny unsupported features: Small, thin protrusions receive rougher finishes. Revise the design or add temporary supports.
5. Add sacrificial surfaces: If a certain face must be perfect, consider printing a sacrificial “smoothing cap” or using a printed blank to flip the part and reduce supports.
6. Tolerance planning: Account for dimensional changes from sanding, annealing, or chemical smoothing by adjusting critical features in the CAD.
Material-Specific Considerations
|
Material |
Typical Surface Finish |
Best Mechanical Finishes |
Best Chemical / Coating Options |
Notes & Cautions |
|
Smooth, crisp prints; shows layer lines on curves |
Sanding (start 200→400→800), filler primer, epoxy coat |
Limited solvent options — epoxy/resin works for glossy finish |
Easy to sand and paint; low heat resistance; avoid acetone (ineffective) |
|
|
Slightly matte, prone to warping |
Sanding + filler; careful heat gun for minor smoothing |
Acetone vapor smoothing gives glossy fused layers; epoxy sealant |
Warp risk: use enclosure + heated bed. Solvent smoothing changes dimensions and weakens thin features |
|
|
UV-stable alternative to ABS; similar behavior |
Sanding, filler, primer |
Acetone or MEK smoothing (works like ABS) |
Better outdoors resistance than ABS; still warps without enclosure |
|
|
Naturally glossy, can be stringy; gummy when sanded |
Wet-sanding (400→800+), polishing compounds |
Epoxy or resin coat yields mirror finish; solvent smoothing limited |
Tends to stick to sandpaper; avoid aggressive solvents; prints are strong and slightly flexible |
|
|
Tough, semi-gloss; absorbs moisture which affects surface |
Light sanding, specialized fillers; sand then coat |
Surface treatments required for plating; epoxy can seal |
Always dry filament before printing (oven/desiccant). Adhesion for paint is poor unless primed correctly |
|
|
Slightly rough texture, difficult to sand |
Print tuning (small layers, slow speed); minimal sanding; stretch-friendly coatings |
Flexible-compatible coatings (sprays) |
Sanding often deforms; aim to print cleanly; some coatings reduce elasticity slightly |
|
|
Smooth, strong but prone to warping |
Sand carefully; polishing after sanding |
Epoxy coatings OK; solvent smoothing not common |
High-temp printing; requires enclosed, heated build chamber |
|
|
Composite (CF/Nylon blends) |
Abrasive (carbon fiber), slightly matte; nozzle wear |
Avoid sanding with metal tools; use filler/primer; epoxy coats |
Epoxy/resin coats work well |
Use hardened nozzles; fibers abrade sandpaper and nozzles; filler helps hide fiber texture |
Post-processing Options
1. Print Tuning (first step)
Lower layer height, reduce top-layer speed, tighten retraction, and improve cooling. Often, the single best investment of time.
2. Sanding (mechanical)
Start coarse (120–220 grit) for big defects, then progress to fine (400–800+). Use sanding blocks for flat faces and needle files for details. Wet-sanding helps with clogs and gives a finer finish for final grits.
3. Fillers & Primers
Use lightweight putty or automotive filler for deep layer lines; sand between coats. Filler primer hides small imperfections and creates a paint-ready surface.
4. Chemical/Vapor Smoothing
Effective for ABS/ASA (acetone). Produces glossy, fused layers but changes dimensions and can weaken thin features. Safety first: ventilated area, solvent-resistant containers, PPE. Not recommended for PLA or PETG (ineffective or hazardous).
5. Epoxy/Resin Coating
Brush or pour epoxy for a mirror-like surface that seals and evens out layers. Adds thickness and can hide small seams; cure time and VOCs are a consideration.
6. Heat Smoothing & Annealing
Heat gun lightly for local smoothing (risk of deformation). Oven annealing improves part strength and changes dimensions — test for tolerance-critical parts.
7. Polishing & Buffing
For PETG and some PLA prints, polishing compounds and buffing wheels can bring shine without coatings.
8. Plating or Tumbling
Conductive coating + electroplating yields a metal finish; tumbling or bead blasting can texture or smooth many small parts, but needs specialized equipment.
Troubleshooting Checklist
|
Problem |
Likely Cause |
Quick Fix |
|
Visible layer lines / stepped surface |
High layer height or large nozzle |
Reduce layer height; use more top layers; sand + filler |
|
Banding (horizontal stripes) |
Z-wobble, loose lead screws, or inconsistent extrusion |
Tighten mechanics; check Z-leads; calibrate extrusion |
|
Blobs & zits |
Retraction/over-extrusion |
Tune retraction, reduce flow slightly, lower printing temp |
|
Stringing |
Too high temp or insufficient retraction |
Lower temp, increase retraction distance/ speed |
|
Matte / rough top layer after smoothing |
Uneven smoothing or poor sanding |
Re-sand with finer grits; apply filler primer; recoat |
|
Warping after anneal |
Uneven heating or too high anneal temp |
Lower anneal temp; use controlled oven and test coupons |
|
Sticky surface after smoothing |
Incomplete solvent evaporation or resin undercure |
Allow full cure/dry time; post-cure resin if needed |
|
Paint peeling |
Poor adhesion or oily surface |
Clean with isopropyl alcohol, sand, use adhesion primer |
|
Loss of detail after smoothing |
Over-smoothed / high solvent exposure |
Reduce exposure; protect small features; consider epoxy coat instead |
|
Rough flexible parts |
TPU printed too hot or mechanical stress |
Lower temp, slow print speed, avoid heavy sanding; use coating |


