 1
1


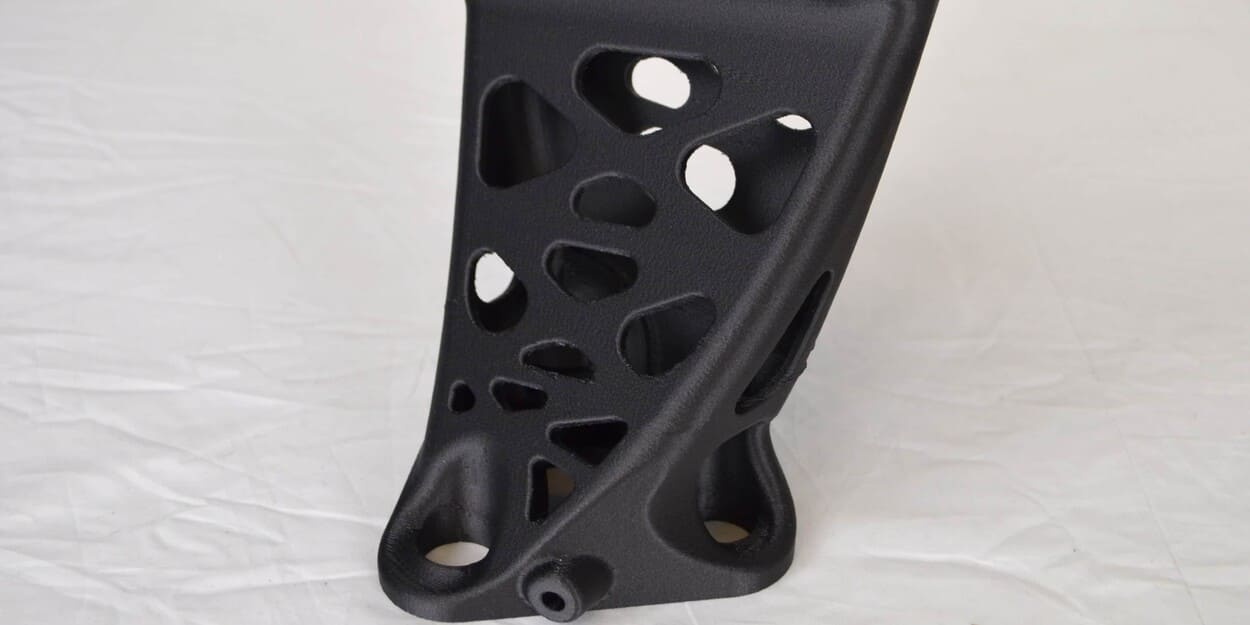
Banner Image Courtesy of ProTek Models
Fast Comparison of FDM and SLS As-Printed Nylon
|
Criteria |
FDM As-Printed Nylon |
SLS As-Printed Nylon |
|
Material Form |
Solid filament (typically PA6/66 blends) |
Powder (nylon 11, nylon 12 or blends) |
|
Layer Thickness |
100–300 µm |
60–120 µm |
|
Surface Texture |
Noticeable layer lines; smooth on vertical walls |
Granular “matte” finish with uniform grain pattern |
|
Dimensional Accuracy |
± 0.3–0.5 mm |
± 0.2–0.3 mm |
|
Mechanical Anisotropy |
Strongest along extrusion lines; weaker Z-axis |
Nearly isotropic in X/Y; slight Z-axis variance |
|
Typical Build Volume |
Desktop to small industrial beds (250×250×250 mm) |
Industrial-scale vats (up to 350×350×500 mm) |
|
Color Options |
Limited (natural, black, specialty blends) |
Broad palette via powder mixes |
|
Porosity |
Low; sealed filament |
Higher; free powder between layers |
|
Post-Processing Needs |
Support removal, light sanding |
Powder removal |
|
Lead Time |
Hours to overnight |
1–3 days |
|
Typical Cost per Part |
Low to moderate |
Moderate to high |
Material and Mechanical Properties
Material Composition
1. FDM uses continuous filament blends of PA6/66 with additives for flow and toughness.
2. SLS relies on powder grades of PA11 or PA12, offering broader chemical and temperature resistance.
Strength and Ductility
1. FDM parts achieve higher tensile strength in the XY plane but suffer from Z-axis weakness.
2. SLS parts exhibit more uniform strength and elongation in all axes, reducing the risk of layer-delamination failures.
Stiffness and Flexural Behavior
1. FDM’s higher elastic modulus yields stiffer parts but can crack under bending if loaded perpendicular to layers.
2. SLS parts flex more before breaking, thanks to finer-grain fusion and consistent microstructure.
Impact Resistance
1. Both technologies deliver comparable impact toughness, though FDM’s directionality can cause splitter failure under sharp impacts in Z.
2. SLS parts absorb impacts more uniformly, with fewer stress concentrators.
Thermal and Moisture Sensitivity
1. FDM’s higher HDT makes it better for hot-end uses, but its hygroscopic filament requires thorough drying before printing.
2. SLS powders are less moisture-sensitive in storage, but printed parts still absorb water over time, potentially altering dimensions and properties.
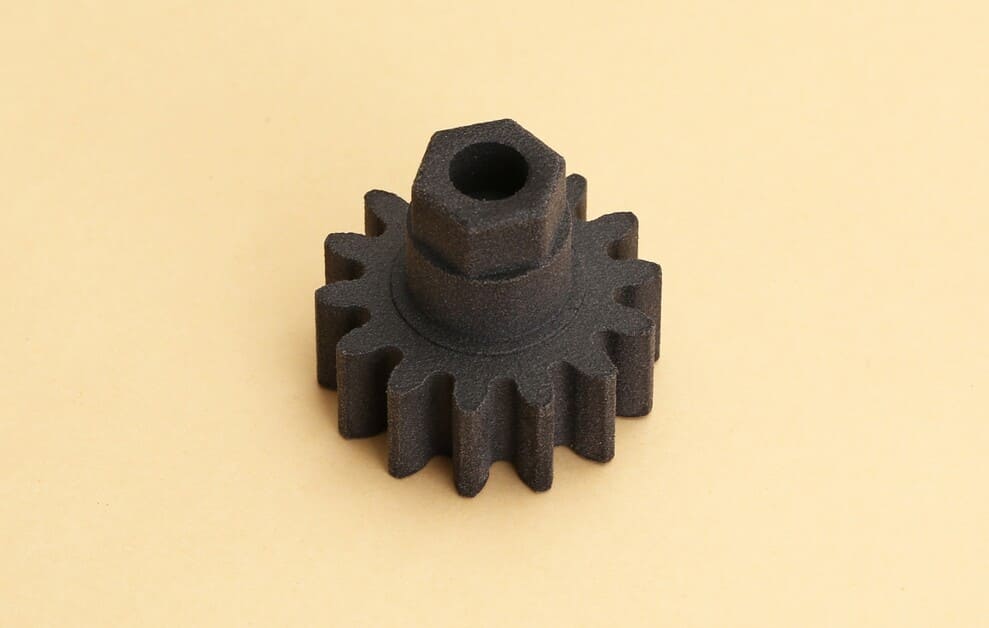
Image Courtesy of Hi3DP
Tips:
Pick FDM if you need high stiffness and strength in defined planes, with minimal lead time and lower material prep.
Pick SLS for components demanding isotropic performance, complex load cases, and superior surface uniformity without visible layer weakness.
Surface Finish and Dimensional Accuracy
Surface Roughness
1. FDM parts are governed by layer height and nozzle diameter. Fine layers reduce Ra but increase print time.
2. SLS yields a more consistent matte finish driven by powder granularity.
Dimensional Accuracy
1. FDM is influenced by filament swelling, nozzle path precision, and thermal contraction.
2. SLS accuracy benefits from uniform heating in the powder bed, although powder packing and sintering shrinkage must be compensated in the CAD model.
FDM parts often warp or develop Z-curl because uneven cooling of the hot thermoplastic lets layers contract at different rates, whereas in SLS the surrounding powder holds each part in place during printing, minimizing distortion even for intricate shapes.
Likewise, removing supports from FDM prints leaves noticeable scars that must be sanded or smoothed to restore a clean finish, while SLS parts—self-supported in the powder bed—emerge with only minimal, uniformly textured surface marks.
Tips:
Pick FDM when you need rapid prototypes with acceptable finish that you can refine manually, or when parts have large features and looser tolerances.
Pick SLS for end-use components requiring tight dimensional control, fine details, and a uniform surface straight off the printer, reducing post-processing effort.
Cost
Detailed Cost Breakdown
Machine Amortization. FDM printers span desktop hobby models to industrial systems. Spreading acquisition over print volume makes low-end machines cost-effective. SLS units require large capital but enable high daily throughput, lowering the per-part share of the machine cost.
Material Expenses. FDM filament is relatively cheap; nylon filaments sell for $30–$80/kg. SLS powders cost more due to specialty polymer blends and tight particle size distribution, at $80–$200/kg. However, SLS allows powder recycling (up to 70% reuse), softening the long-term material expense.
Energy & Operation. FDM heating elements and motors draw 100–200 W, equating to $2–$5 per operating hour. SLS lasers and powder beds consume 1–3 kW, raising costs to $15–$30 per hour, but can process multiple nested parts in one build cycle.
Labor & Post-Processing. FDM support removal, sanding, and smoothing take 10–30 minutes per part, costing $5–$15 in labor. SLS requires depowdering and optional bead-blasting, typically 5–15 minutes, at $3–$10 per part due to batch handling efficiencies.
Tips:
Pick FDM when your priority is low entry-cost, small batches, or rapid one-off prototypes you can refine manually.
Pick SLS when producing larger quantities of small to medium parts with predictable unit costs, harnessing batch economies and minimal manual finish work.
Design and Geometry
|
Design Aspect |
FDM Considerations |
SLS Considerations |
|
Overhangs and Supports |
Requires support structures for overhangs > 45° |
Powder bed provides natural support for most overhangs |
|
Nesting and Packing |
Limited by build plate area and part orientation |
High-density nesting across XY and Z maximizes throughput |
|
Minimum Feature Size |
~0.4 mm walls, ~0.6 mm holes to avoid under-extrusion |
~0.2 mm walls, ~0.3 mm holes supported by laser precision |
|
Wall Thickness Guidelines |
≥ 0.8 mm to ensure consistent flow and strength |
≥ 0.6 mm for robust sintering without collapse |
|
Thermal Distortion Risk |
Watch for warping on thin sections; add brims or ribs |
Low risk; uniform powder bed temperature minimizes curl |
Applications Driven Choices
Prototyping and Hobbyist Projects
Rapid one-off iterations with minimal setup
Visible layer lines acceptable if parts undergo manual post-processing
Low entry cost favors desktop FDM machines
Functional End-Use Parts and Small Batch Production
Demand for consistent mechanical properties in all axes
Tight tolerances and fine features reduce hand-finishing
Batch nesting in SLS lowers per-part cost for runs of 20+ units
Industry Examples
|
Application |
Why FDM Works |
Why SLS Excels |
|
Automotive Brackets |
Fast proof-of-concept at low cost |
Strong isotropic performance under load |
|
Medical Fixtures |
Easy sterilization tests on simple prototypes |
Smooth finish meets biocompatibility standards |
|
Consumer Goods |
Quick color changes using different filaments |
Complex geometries and fine details possible |


